So you want to build a bicycle...
...But you have no idea how? Good! Just do it. I did, and here's what happened.
IN THE BEGINNING:
There was a 2013 Raleigh Eva 29 with a 17” frame. It was
too big for me, but coming off a 2000 Specialized Rockhopper with 24” wheels,
everything felt too big—what did I know?
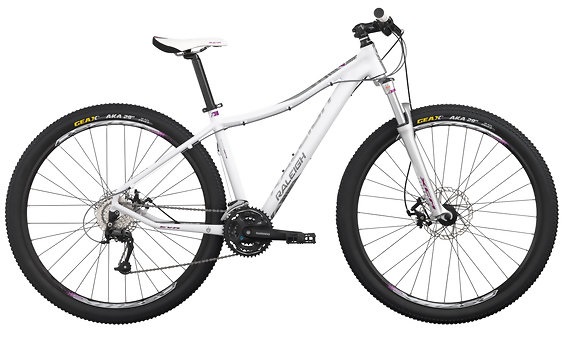 |
| It didn't look like this for long. |
As the answer to that question went from “nothing” to “something”, the Eva was incrementally updated: it got metal pedals, a nice WTB seat off eBay after the old one fell apart, serious tires, and a cast-off stubby stem and wider bars from a friend. Two years after its purchase, it was getting airborne on more outings than not, so Pinkbike Buy/Sell provided a Reba Dual-Air fork and DT Swiss wheelset off a 2011 Specialized Stumpjumper. The fork had a 20mm through-axle, meaningful rebound adjustment, and an extra 30mm of travel: about a month later I bought hydraulic brakes out of fear for my life.
 |
| Me and the Eva doing what we did worst. Cable brakes still going strong, but don't ya like my new bars? |
That was pretty much the kiss of death for the Eva. All its components were nicer than the frame and even the frame was nicer than its lousy 3x9 drivetrain. Sacrificing my tax returns, cashing in my negligible paychecks and herding birthday contributions from my relatives toward the cause, I ordered a 2014 Canfield Yelli Screamy frame and began accumulating, from various sources, the (staggering amount of) components that make up a 1x10 extended range drivetrain.
 |
| The Eva and the Yelli, about to get intimate. |
You might wonder why I decided to build up a bike from parts instead of buying a used one, which would certainly have been more cost-effective: I put about $1500 into the build and got a 1000-dollar bike out the other end. Well, it was 1500 bucks that I got to lay down over the course of a year, which is key for a college student with no ability to save money, and I got to spend it on the exact setup I wanted. Plus—and this was the real impetus—it was bound to be a learning experience.
If working on a bicycle is at all like working on a dirt bike, “learning experience” would directly translate to a miserable week in the
shop—frustrating, time-consuming, ego-crushing, and with a hefty financial
penalty looming for any serious failure. But once you’ve learned, that
experience starts paying for itself in baseline functionality, time and money
saved not waiting around for someone else to make your repairs, and yeah, some
kind of deeper appreciation for the machine. I assembled my collection of boxes
on the work bench and took a deep breath. Here comes the hurricane.
THE STRUGGLE:
After liberally coating the frame in helicopter tape, I started from the inside and worked my way out. The first task was installing a press-fit Cane Creek headset. Lacking more sophisticated machinery, I gave it hell with a hammer and a piece of a 2x4. Don’t laugh—it worked
for the upper race. The lower race, which is bigger, was determined to go in
crooked. I saw metal shavings, gave up, and brought it to the shop. They charged
me 10 bucks and soothed my ego a little by fanboying about the frame. “You
could FREERIDE that thing,” one guy said. Visions of 720 backflips danced in my
head, followed shortly by moderated visions of at least being able to manual. This
was on Thursday. By next week, I thought, I’d have a bike again.
 |
| Tool time! Wait... Croquet time? |
Friday after school, I set about installing the bottom bracket. Having scored some Race Face Turbine cranks on eBay, I was unpleasantly surprised to learn that they required a $50 Race Face bottom bracket, which looks eerily like a $12 one from Shimano with the same nominal dimensions. I bought the Race Face one because I’m a sucker, then naturally I had to buy a special Race Face tool put it in. The drive-side bearing cup is reverse-threaded (this is how all bad wrenching stories start) so it doesn’t loosen as you pedal. I pulled out the torque wrench, set it to 40nm per the instructions, and started hauling on this thing, lefty-tighty: I give it everything I’ve got until the silly wrench slips off the tiny notches in the BB cup and dings up my frame. Well, I guess 40nm is beyond my strength, I think. So I flip the bike over, switch the torque wrench to righty-tighty, start threading in the non-drive-side cup, and PING. If THAT’s 40nm, I must have put 80nm on the other side. Bile rising, I laboriously unscrew the reverse-threaded side, fearing the worst, but the delicate aluminum threads are miraculously intact.
 |
| Bling effin' bling! |
The rest of the crankset install went equally haltingly. At
the first attempt, the cranks barely turned (cue more terror that I had damaged
the BB bearings by over-tightening the drive-side cup). The internet advised
me to remove the plastic tube connecting the BB cups: this made things better,
but not perfect. Several panicked investigations later, I discovered that I’d forgotten
to install one of the drive-side spacers, probably because it had fallen onto
the floor and rolled under the work bench. That was enough for Friday night—I
went upstairs and had a much-needed beer.
On Saturday I put the wheels on, just to stabilize the frame
on my makeshift work stand (AKA a tie-down hanging from a roof beam). The front
wheel, fork, and bars migrated over seamlessly from the Eva, but the rear wheel
from the Stumpjumper, thus far unused due to its 10-speed hub, needed a
cassette put on. I’d procured a lightly-used Shimano 11-36 unit off eBay and
added to it a 42-tooth FireEye expander cog. With the wheels on, I took the
opportunity to velocipede around the basement like a loon before hanging the
bike from the ceiling again.
 |
| Levitation, such an aggravation... |
The brake install was next. This was an uneventful on the
front—the Yelli’s head tube was slightly longer than the Eva’s, but the brake line
length was still within the realm of reason. Not so much at the back—the Eva’s
rear brake line had been routed under the bottom bracket, while the Yelli’s was
zip-tied along the top tube and the seat stay. This left me with about a foot
of extra line, which will remain awkwardly looped in front of the handlebar
until my latest Jenson order comes in. Centering the rear caliper around the
rotor, I somehow managed to stick a finger through my whirring spokes, splitting
my fingernail midway up the nail bed. That benched me for the night. Complaining
to one of my riding buddies, I learned this was an occupational hazard—he’d once
lost the tip of his thumb to the brake rotor while performing the same task.
 |
| YOU BASTARD! |
On Sunday morning, it was drivetrain time. The derailleur
bolted on anticlimactically and shortening the chain with my multitool required
less herculean hand strength than I had feared.
Next, I needed to assemble the shift cable--but one cutting
implement after another failed to do more than dent the cable housing. In desperation, I resorted to the Dremel again. It didn’t produce a very neat
cut, but with a little cleanup, I was able to jam the end cap on. The rest of the
installation was a snap. Now for the tricky part—tuning the derailleur.
To my utter shock, the bike downshifted from its littlest cog on the first try. I felt like Dr. Frankenstein watching his monster come to life in the lab. I adjusted the mech to a reasonable level of satisfaction (this took a while), then hauled the beast up the stairs, put it in the car and changed into very warm riding clothes.
THE MOMENT OF TRUTH:
I bring the Yelli to the only place where I don’t think I’ll
be tarred and feathered for riding it in mud season, which is a multi-use trail
leading up to the cell tower on Irish Hill. Pedaling up the rocky,
water-barred and occasionally soggy approach, it feels stiffer than the Eva,
lighter, and noticeably easier to wheelie thanks to its shorter chainstays. But,
since its cockpit is more compact, I have no problem shifting my weight forward and
keeping the front planted when the going gets steep. The derailleur runs
through its lower gears, including the 42t expander cog, with little hesitation. When I come to the steep, ledgy bit where I always had to get off
the Eva and push, I still have to get off the Yelli and push—but I don’t feel like
its geometry or gearing are any worse for the climbs than the Eva’s were, and a
sneaking suspicion tells me that both are going to be a lot better on the
downhill.
Running out of light, I turn around as soon as I have some
appreciable steeps to descend. I drop the seat: even running a longish seat post,
it falls all the way to the seat post clamp. Then I climb aboard and let go of
the brakes.
A lot of hooting for glee happens right off the bat. Bombing
down the ledgy part of the trail, I am able to lift the front
wheel and pop the bike over anything that might
feel rough under the tires, even if there’s not much of a kicker to help me do so. Its head tube angle is a degree slacker than the Eva's, but for some reason, Yelli feels more nimble: maybe the wheelbase is a little shorter? Further on, even the most awkwardly-shaped water bars
don’t seem as likely to chuck me over the handlebars as they used to: when I
hit one just right, the bike hangs balanced in the air like a tiny stunt plane,
and when I hit one just wrong, its runty rear triangle and slacker head angle
make surviving the landing easy. I can hit these things a LOT faster, I think, and upshift.
CRUNCH. Standing on the pedals in my smallest cog, something is NOT
happy. I give the pedals another mash—crunch again. The chain seems to be
skipping or slipping under load in this one gear. Admitting defeat, I downshift and pump
my way back to the car.
 |
| Looks good! Sounds bad. |
The Great Drivetrain Debug of 2016 takes two more days. I try flipping my chainring around to straighten out the chain line to the smallest cog: nope, chain still skips. I take a link out of the chain, which seems to clean up the shifting in the higher gears, but the skipping is still there. Finally, I flip the bike upside down and readjust the derailleur with an ear to the cassette, listening for what modifications make the chain grind the least. Nothing I do seems to make any difference. Reading the writing on the wall, I pop the wheel off and swap out the littlest cog for an old one I have lying around. This done, I climb on and mash the pedals: dead silence. I make it back to Irish Hill later in the week and put my solution to the test in the mud: the bike shifts and pedals perfectly.
A couple minor tasks remain—shortening that brake line, finding some bars that don’t clash with the rest of the build, that sort of
thing. But by far the most daunting task left on my Yelli Screamy to-do list is
waiting until mud season ends before I take it for a rip on a proper trail.
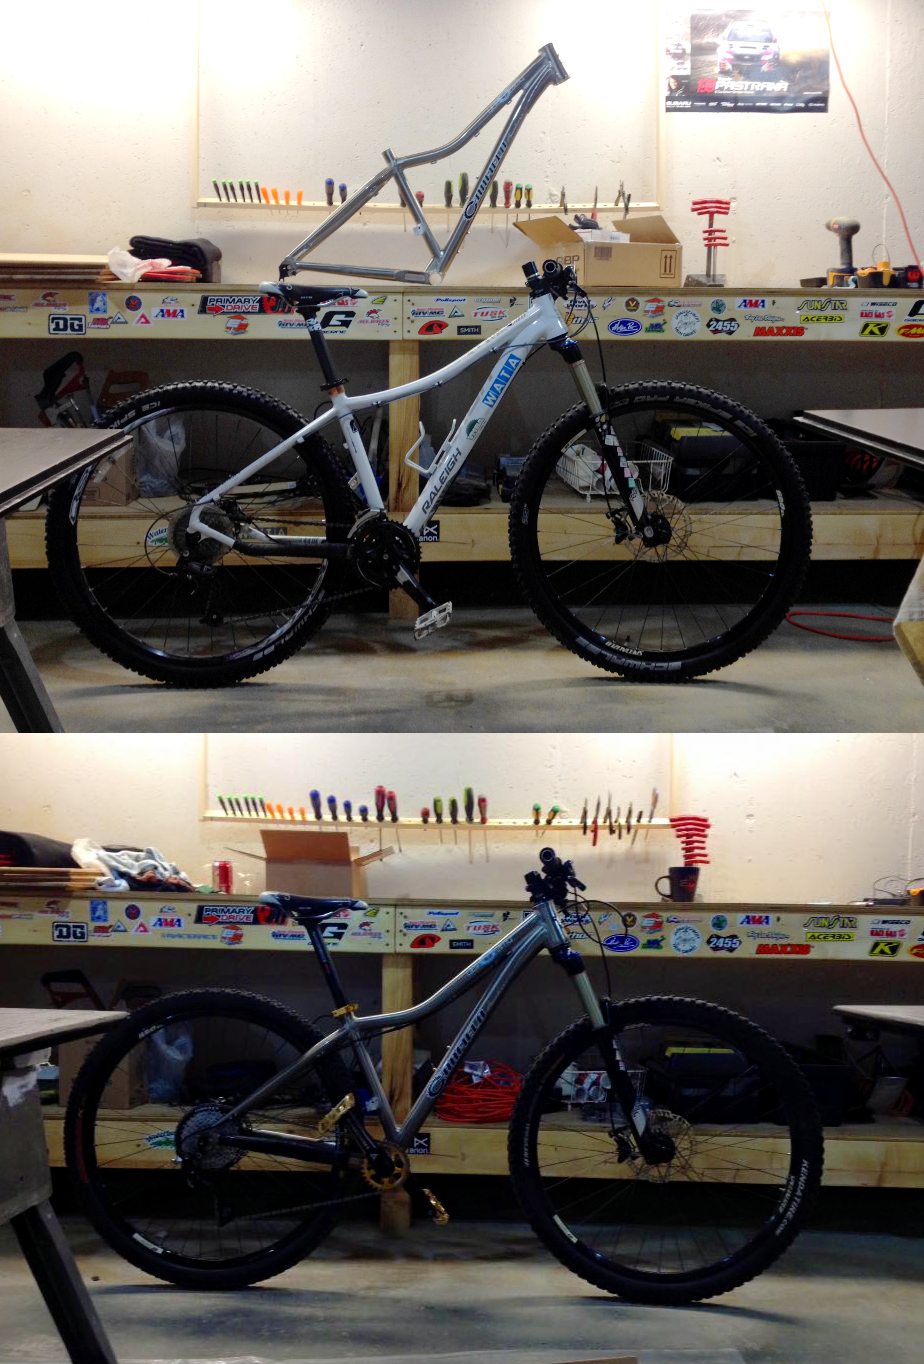 |
| They don't look that different standing still, but oh what a difference a degree here, a centimeter there makes on the trail. |
 |
| Good idea or GREAT idea? |


Thanks for the share, love your blog.
ReplyDeleteExcellent and helpful post… I am so glad to left comment on this. This has been a so interesting ..I appreciate your effort..
ReplyDelete